Templates Overview
Plugin Templates
Section titled “Plugin Templates”Commerce Connect provides 2 core WordPress® templates that enable Full Site Editing (FSE) for product pages. These templates appear in the Site Editor under the “Author is: wpe-mustang” filter.
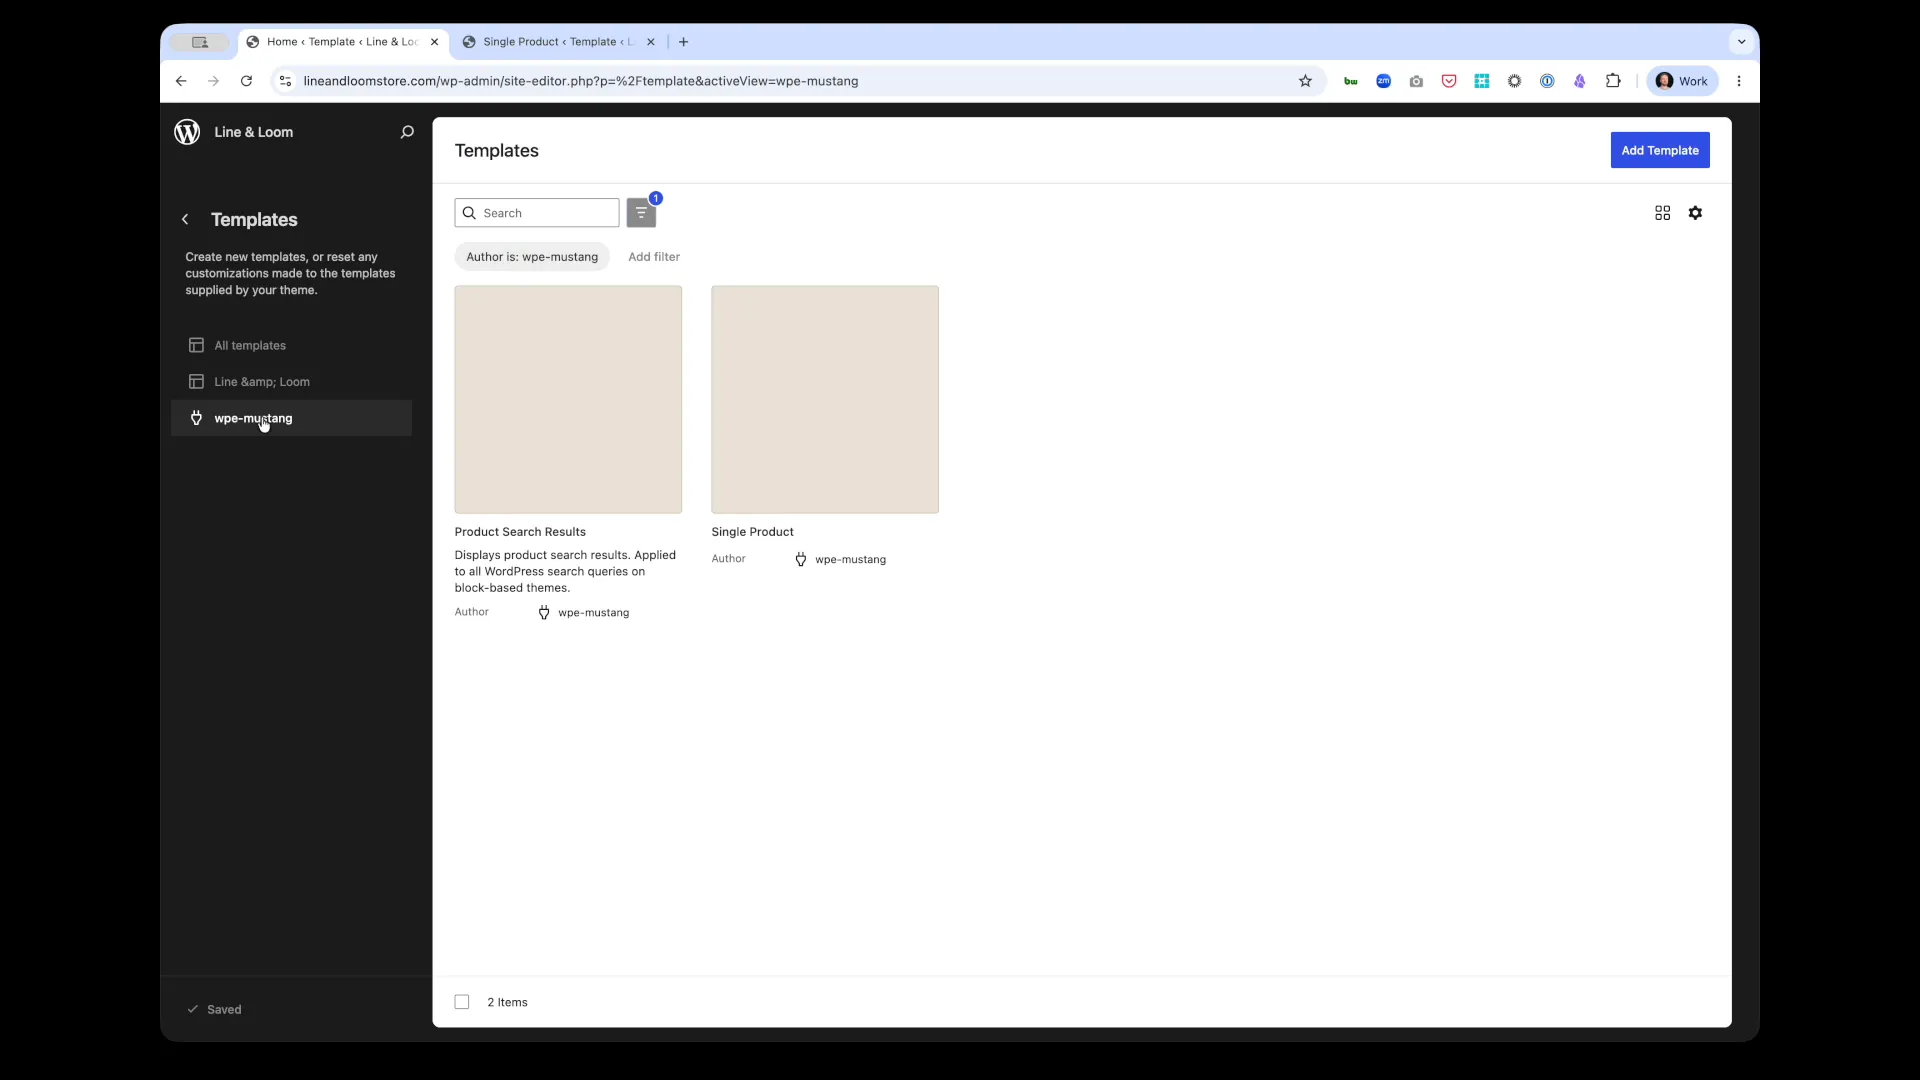 Commerce Connect’s 2 core templates in the WordPress® Site Editor
Available Templates
Section titled “Available Templates”Single Product template
Section titled “Single Product template”Purpose: Controls the layout of individual product detail pages.
Default includes:
- Product image gallery
- Product title, pricing, rating
- Product description
- Buy button (Add to Cart)
- Product reviews section
- Related products
Use for: Customizing how individual products are displayed on their own pages.
Purpose: Controls the layout of search results pages.
Default includes:
- Products grid (responsive columns)
- Filter sidebar (price, category, brand, attributes)
- Sort controls (price, name, newest)
- Result count and active filters display
Use for: Customizing how product search results, shop pages, and filtered product lists are displayed.
Working with Templates
Section titled “Working with Templates”Accessing Templates
Section titled “Accessing Templates”- Navigate to Appearance > Site Editor in WordPress® admin
- Click Templates in the left sidebar
- Filter by Author is: wpe-mustang to show only Commerce Connect templates
- Click a template name to edit
Editing Templates
Section titled “Editing Templates”Templates are fully editable using WordPress®‘s block editor:
- Add blocks - Insert Commerce Connect blocks or standard WordPress® blocks
- Rearrange layout - Drag and drop blocks to change structure
- Customize styles - Adjust colors, typography, spacing, and borders
- Preview changes - See live preview before publishing
Template Features
Section titled “Template Features”Block-Based Architecture:
- Mix Commerce Connect blocks with regular WordPress® blocks
- Create unique layouts without code
- Reuse template parts across multiple templates
Full Site Editing (FSE):
- Edit templates visually in the Site Editor
- Changes apply site-wide automatically
- No PHP template files to manage
Dynamic Content:
- Product data syncs from BigCommerce in real-time
- Templates automatically populate with current product information
- Webhooks keep content up-to-date
Customization Workflow
Section titled “Customization Workflow”1. Plan Your Layout
Section titled “1. Plan Your Layout”Before editing, sketch your desired page structure:
- Which elements to show/hide
- Grid columns and spacing
- Filter placement (sidebar vs. horizontal)
- Custom content areas (banners, categories, text)
2. Edit the Template
Section titled “2. Edit the Template”Open the template in Site Editor and make changes:
- Modify existing blocks (grid columns, filter options, sort settings)
- Add new blocks (headings, images, categories, custom HTML)
- Remove unwanted blocks
- Adjust spacing, colors, and typography
3. Style the Blocks
Section titled “3. Style the Blocks”Apply visual styling:
- Colors - Text, background, accent colors
- Typography - Font size, weight, line height
- Spacing - Padding, margin, gap between elements
- Borders - Border width, color, radius
- Alignment - Left, center, right, full-width
4. Preview and Test
Section titled “4. Preview and Test”Before publishing:
- Preview the template to see changes live
- Test with different products and search terms
- Verify filters and sort controls work
- Check responsive behavior on mobile
5. Publish Changes
Section titled “5. Publish Changes”- Click Save to publish your template
- All relevant pages automatically use the new layout
- Clear cache if changes don’t appear immediately
Common Customization Scenarios
Section titled “Common Customization Scenarios”Change Product Grid Layout
Section titled “Change Product Grid Layout”Single Product template:
- Adjust image gallery size (thumbnail placement, main image size)
- Move buy button position (top, bottom, sticky)
- Toggle reviews section on/off
Product Search Results template:
- Change grid columns (2, 3, 4, or 6 columns)
- Adjust product card spacing
- Modify thumbnail size and aspect ratio
Modify Filter Display
Section titled “Modify Filter Display”Product Search Results template:
- Move filters from sidebar to horizontal bar above grid
- Show/hide specific filter types (price, brand, category)
- Change filter order
- Add custom filtering instructions
Add Custom Content
Section titled “Add Custom Content”Both templates:
- Insert promotional banners
- Add category suggestions
- Include blog posts or editorial content
- Show featured products or bestsellers
Advanced Customization
Section titled “Advanced Customization”Custom CSS
Section titled “Custom CSS”Target templates with custom CSS for advanced styling:
/* Single Product page */.single-product-template {  max-width: 1200px;  margin: 0 auto;}
/* Search Results page */.search-results-template .products__grid {  gap: 3rem;}
Add custom CSS in Appearance > Customize > Additional CSS.
Template Parts
Section titled “Template Parts”Create reusable template parts:
- Header - Navigation, cart icon, search box
- Footer - Links, copyright, social icons
- Filter Sidebar - Reuse across multiple product listing pages
Save template parts in Appearance > Site Editor > Template Parts.
Dynamic Blocks
Section titled “Dynamic Blocks”Combine Commerce Connect blocks with WordPress®‘s dynamic blocks:
- Query Loop - Show blog posts alongside products
- Latest Posts - Display recent articles
- Categories - Show product or blog categories
- Custom HTML - Embed third-party widgets
Best Practices
Section titled “Best Practices”Design
Section titled “Design”- Maintain consistency - Use the same layout patterns across templates
- Prioritize mobile - Test responsive behavior on small screens
- Use white space - Don’t overcrowd templates with too many blocks
- Follow brand guidelines - Apply your brand colors and typography
Performance
Section titled “Performance”- Optimize images - BigCommerce serves optimized images automatically
- Limit blocks - Fewer blocks = faster page loads
- Use caching - WP Engine caches templates automatically
- Test page speed - Use tools like Google PageSpeed Insights
User Experience
Section titled “User Experience”- Clear navigation - Make it easy to find products and filters
- Prominent CTAs - Buy buttons and Add to Cart should stand out
- Show availability - Display stock status clearly
- Provide search help - Suggest categories when no results found
Troubleshooting
Section titled “Troubleshooting”Template Changes Not Appearing
Section titled “Template Changes Not Appearing”Solution:
- Ensure you clicked Save in Site Editor
- Clear site cache (WP Engine cache, CDN cache)
- Hard refresh browser (Cmd+Shift+R)
Blocks Not Available in Template
Section titled “Blocks Not Available in Template”Solution:
- Ensure Commerce Connect plugin is active
- Check that you’re editing the correct template
- Some blocks only work in specific templates
Layout Broken After Update
Section titled “Layout Broken After Update”Solution:
- Check for theme conflicts
- Switch to a block-based theme (Twenty Twenty-Four, etc.)
- Review custom CSS for conflicts
- Contact WP Engine support if issue persists
Related Documentation
Section titled “Related Documentation”- Blocks Overview - All available Commerce Connect blocks
- Site Editor Guide - Using the WordPress® Site Editor
- Block Customization - Styling blocks with CSS
- Product Sync - How BigCommerce data syncs to templates
Next Steps
Section titled “Next Steps”- Customize the Single Product template
- Customize the Product Search Results template →
- Explore all available blocks →